
How To Replace A Convertible Top
California Mustang And Hydro-E-Lectric Make Open-Air Driving A Cinch With Everything You Need For Top-Down Performance
Convertible top replacement and adjustment isn't for the weak of heart because it mandates patience and a solid understanding of how convertible tops fit and function. However, you can do it yourself if you have the right tools and patience. We decided to visit Mustang Country in Paramount, California, for a look at how professionals replace Mustang convertible tops, which combines mechanical repair and fabrication on almost every level.
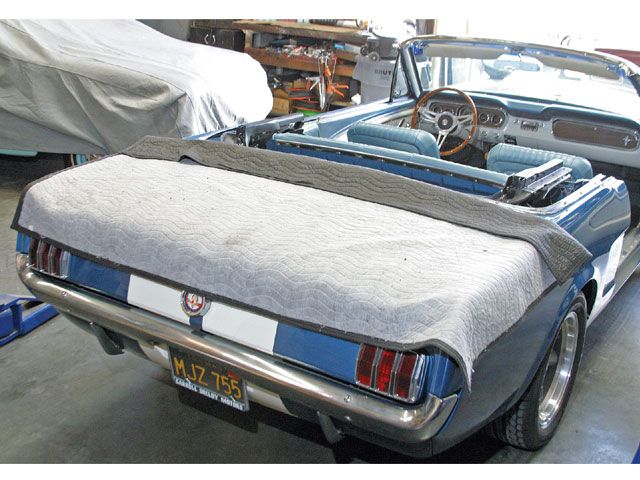
INSTALLER TIP: First, protect your Mustang's decklid and quarter-panels by laying down a furniture pad or blanket. Installing a new top can get messy, and there's the risk of dropping tools and fasteners on your Mustang's finish. Don't forget to disconnect the battery, and be cautious with the power top mechanism when you connect the battery to check operation.
Tools required for the job include Phillips and common screwdrivers of all sizes, a 3/8-drive socket set, combination wrenches, a heavy-duty industrial stapler (for upholstery work), a test light, and a heavy furniture pad or blanket.
Before you can replace a convertible top, you need solid mechanicals. Anything that is worn out must be replaced or you can count on frustration. There must also be adequate lubrication on moving parts to ensure smooth operation. Convertible top mechanisms don't work properly when they suffer from bent linkages, worn bushings and pins, broken parts, and improper adjustment. Run the existing top up and down while examining the entire mechanism for binding and improper adjustment. If there's binding, check individual links for trueness. You're also going to need to inspect bushings and pins for excessive wear.
Manual and Power Tops
Manual tops are generally easier to repair and adjust because there's no hydraulics to consider outside of the counterbalance mechanisms, which make it easier to raise and lower your top. Power tops are nothing more than a hydraulic system (fluid under pressure) that includes an electric pump, a two-way switch, lines, and two hydraulic lift cylinders (actuators). The pump runs in one direction to raise the top and reverses to lower.
Anytime you are servicing the convertible top mechanism, make safety your first priority. Never remove the counterbalance cylinders with the top down, always disconnect the battery whenever you're servicing the power top mechanism, and keep your hands clear whenever the top is in motion.
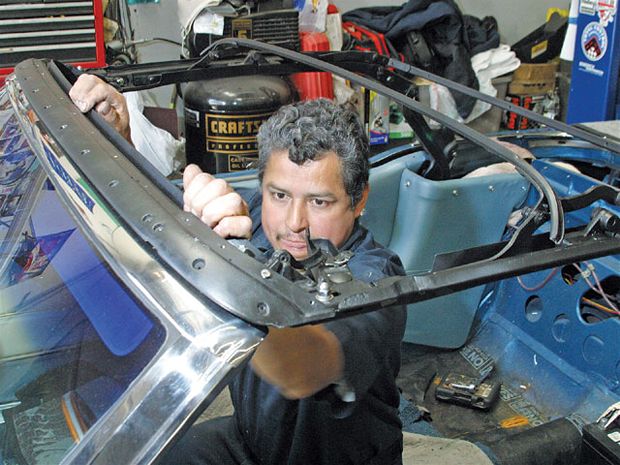
Check the top mechanism for proper seating at the windshield. Pins should properly align and latches should lock smoothly. Dowel pins are adjustable, as are toggle hooks. If toggle hook engagement is difficult, check adjustment. When adjusted properly, engagement is smooth and the top should seat snuggly against the header, but not too tight.
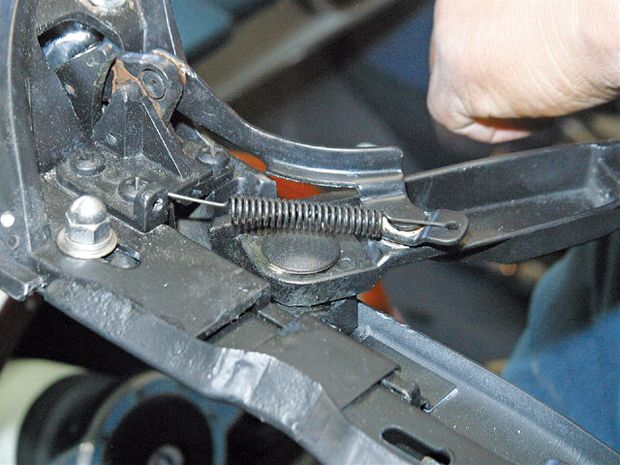
Here's a good look at the latch mechanism. With pins properly aligned and seated, the toggle hook should pull the top tight against the windshield.
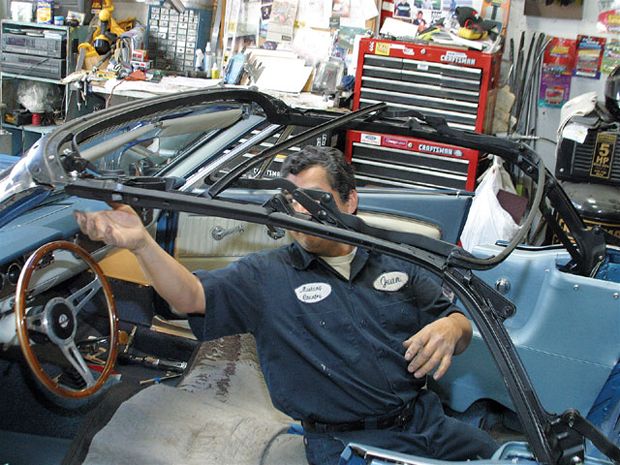
Convertible top linkage tends to get bent through the years. Forcing a stubborn top, raising or lowering the top while the car is in motion, and running the top motor after it seats are examples of typical abuse. Before beginning top replacement, all mechanicals should be in proper working order. Top mechanism operation should be smooth and without binding. When the top comes to rest at the windshield, pins and latches should line up and lock easily. When the top is down, this mechanism should tuck neatly in the top well. There are also bushings and pins that must be inspected for wear. Hydro-E-Lectric can help with replacement convertible top bushings, pins, links, and other components.
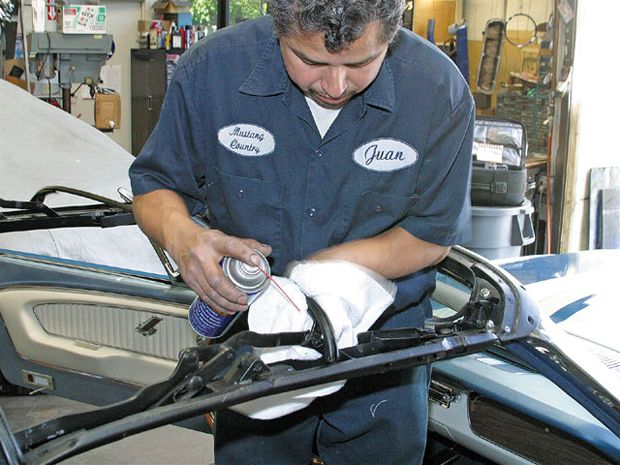
Although we're using WD-40 for lubrication, it's a good idea to use white lithium grease on all top mechanism joints. WD-40 is a moisture displacement and anticorrosive solvent. It gets rid of rust and corrosion, but it doesn't provide long-term lubrication like white grease does.
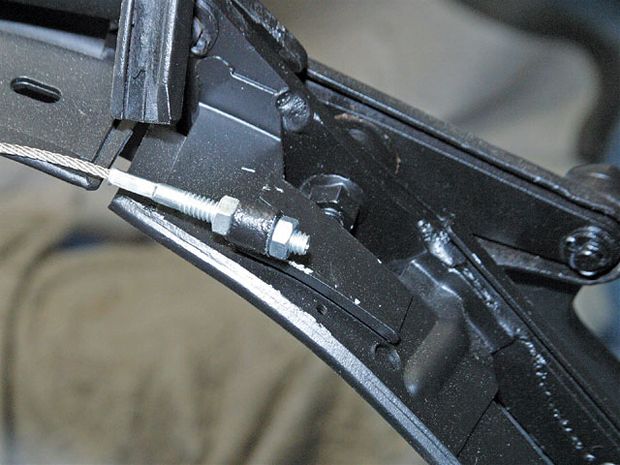
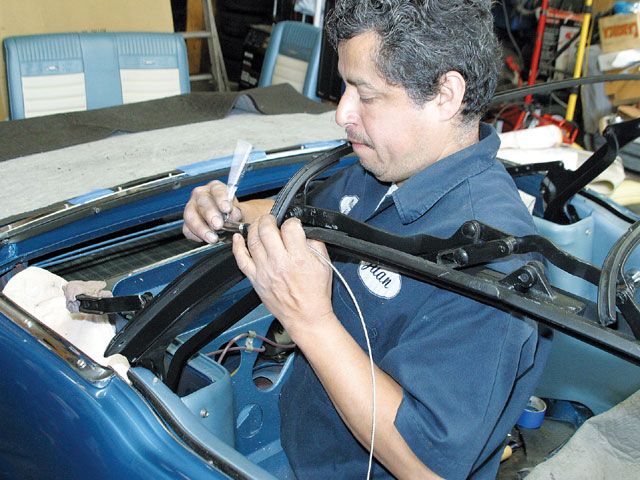
Ford calls this the quarter-deck retaining cable, which enables all of the bows to operate in unison. It also retains the convertible top material. This is the cable tension adjustment point. Too much tension and the top won't seat at your windshield header; too little and it will flop.
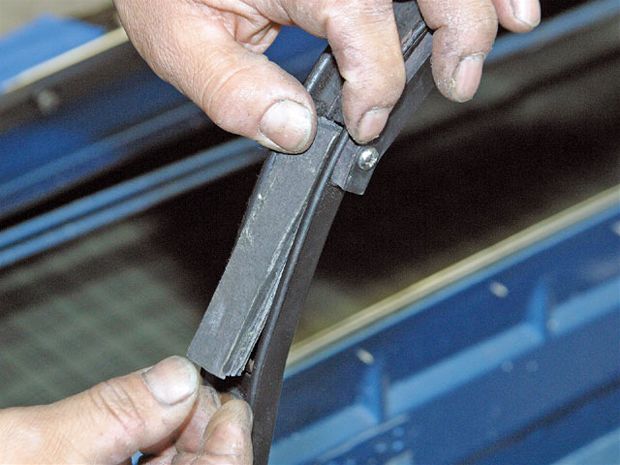
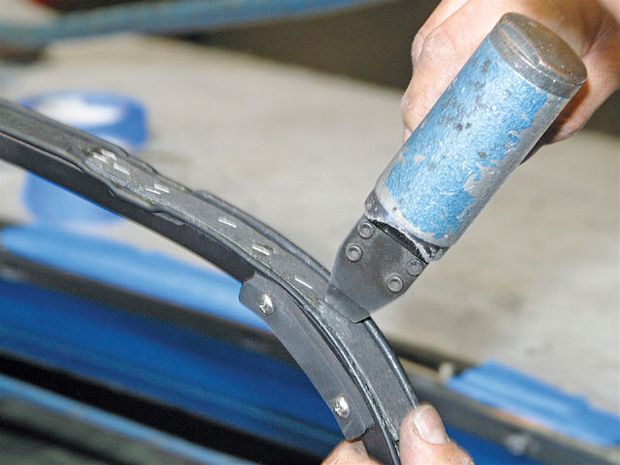
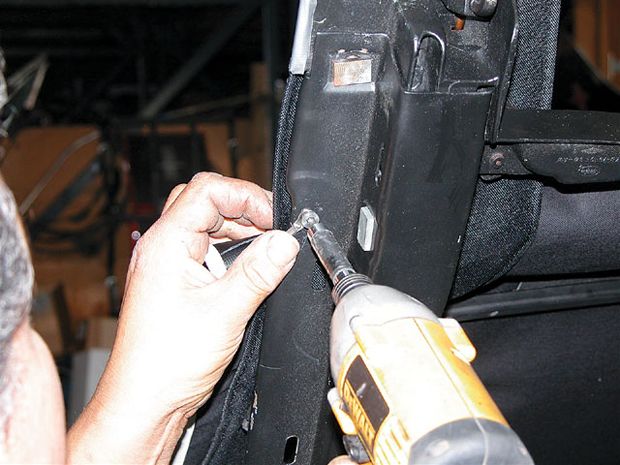
Each bow contains material known as tack strips, which is what convertible top material is stapled to. The tack strips will probably require repair as shown with screws and staples. You can also use industrial adhesive; when allowed to set up, it works better than staples or screws.
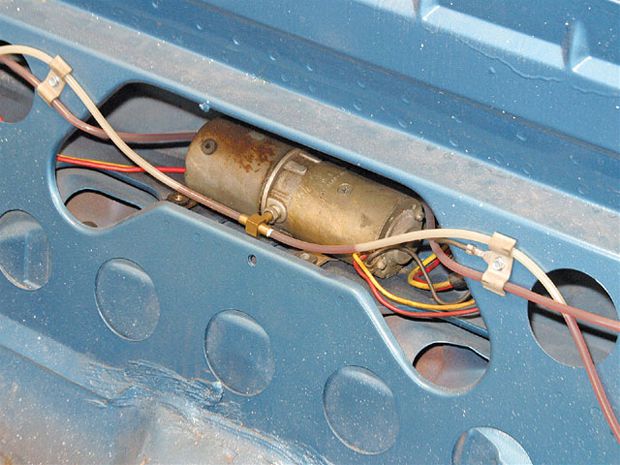
This is the power in a power top, a reversing hydraulic pump that pumps fluid in two directions on either side of hydraulic actuators. It goes one way to move the top down and the other way to move it up. Moving the switch to "up" or "down" reverses the pump.
There are two counterbalance cylinders, one on each side, with a manual top to assist lowering and raising. Never attempt to remove the counterbalance cylinders with the top down because of the risk for personal injury. A power top has one lift cylinder (hydraulic actuators) on each side. When you run the pump, you are applying pressure to either raise or lower the top.

Before you can install a new top, bow positioning must be spot-on to achieve proper top tension and position. Stay pads maintain bow positioning and absorb sound. As a rule, there are four bows from front to rear on most convertibles, which Ford assigns numbers to-header bow (windshield; No.1), second bow (No. 2), third bow (No. 3), and rear bow (No. 4). Each side has a front side member, a horizontal side member, and a diagonal/vertical top frame member.
Bow Dimensions*
If you're stripping down a convertible top, we suggest measuring top bow dimensions to see how they compare with ours. What matters most is a top that will fit perfectly when it's time for installation. There are specified distances you need to have between top bows for good fit and function. These measurements aren't center-to-center, but from trailing edge to leading edge. Here's how measurements stack up.
No. 1 bow to No. 2 bow: 16 1/2 inches
No. 2 bow to No. 3 bow: 16 3/4 inches
No. 3 bow to No. 4 bow: 15 1/2 inches
No. 4 bow to stainless molding: 20 1/2 inches
No. 4 bow to drain trough: 22 1/2 inches
If you examine your '65-'73 Ford Shop Manual, you can fabricate a bow locating gauge from plywood, which will enable you to position bows to factory specifications.
Top adjustment isn't all that difficult according to Richard Smykay. There are five ways to adjust the top mechanism:Bow No. 2 up/down adjustment
Side rail camber eccentric at balance link
Side rail camber set screw at hinge
Header to side rail adjustment (fore and aft length adjustment)
Frame bracket to body bolts (side to side adjustment)
* Information courtesy Richard Smykay
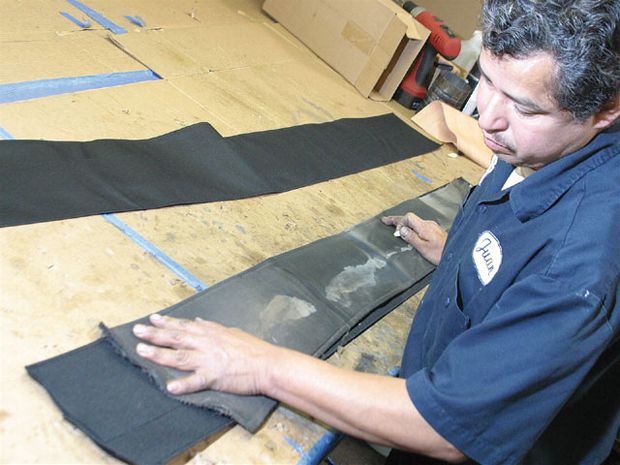
Aside from the convertible top frame, stay pads are the backbone of your Mustang's convertible top. Think of them as the muscle under the skin. They have to be fabricated, then stapled to the bows.
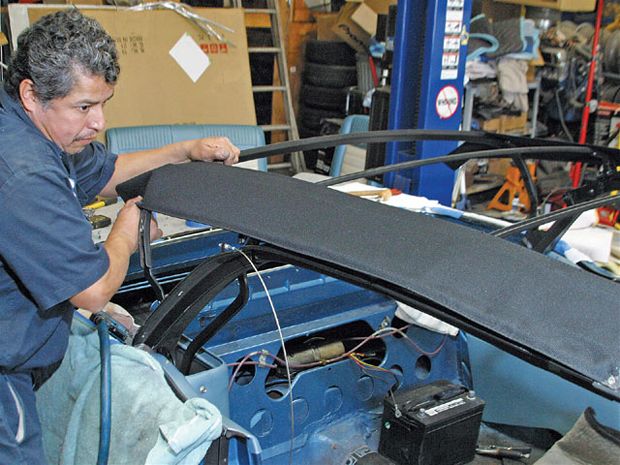
Stay pads are positioned, trimmed, and installed. Each side is attached first at the header bow. Each bow is correctly positioned per bow measurements, then the stay pad is stapled to it. The hanging cable will be channeled through our California Mustang top and fastened to the side bow.
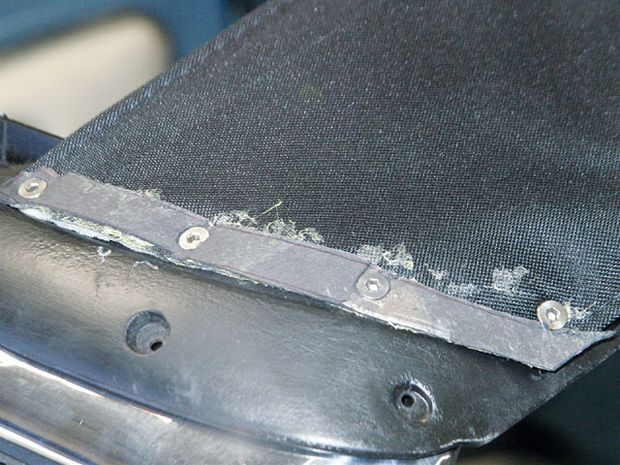
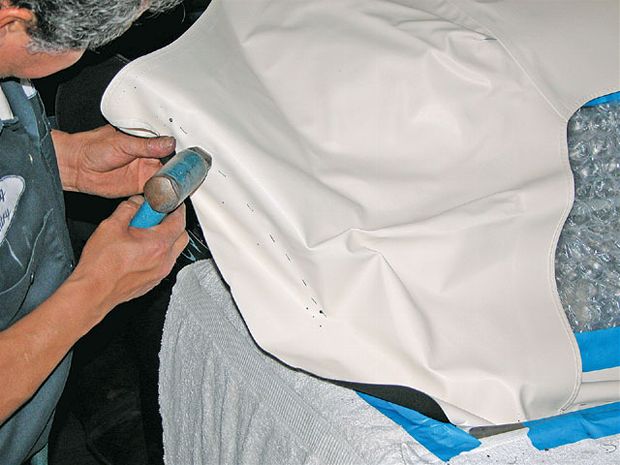
Holes are punched for attachment screws at the No. 1 bow to anchor the stay pad. Attach here first. Then, one bow at a time, attach from No. 2 back. Use minimal staples because you will probably have to detach and readjust.
Sail pads are next. They attach at the stay pad (No. 4 bow) and at the top well. When the top is up, they pull tight.
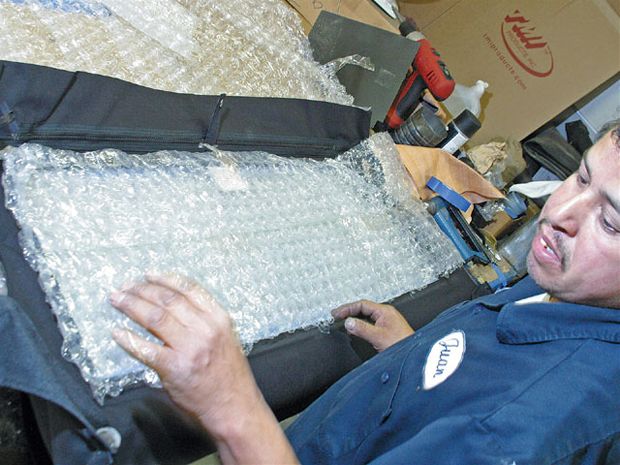
The bifolding rear window panel is prepared next. Note the special care Mustang Country shows for the rear window. Both sides are protected with bubble wrap.
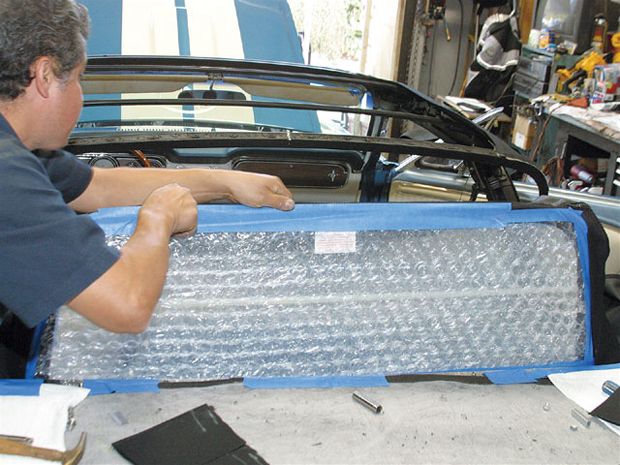
The rear window panel is positioned and installed next. It must first be anchored to the body/top well, then stapled to the No. 4 bow. This takes a lot of patience and perseverance.
From this perspective, you can see the rear window panel and top well material being attached to the body. This requires a lot of adjustment.
The rear window panel is stapled to the No. 4 bow. Again, use minimal staples because you're going to have to keep doing this until tension is just right.

For '65-'68 Mustangs, the distance from stainless to window is 41/2 inches.
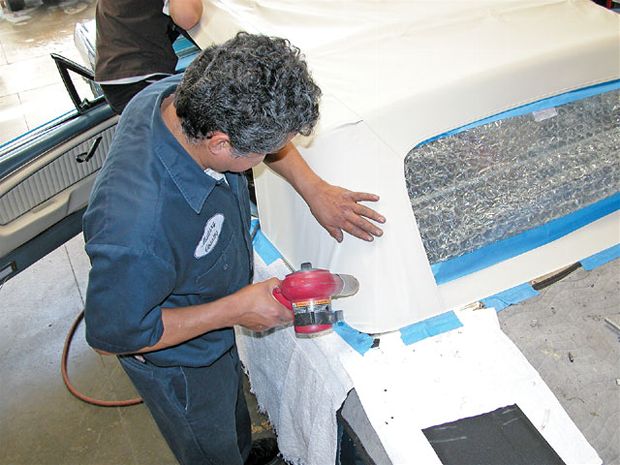
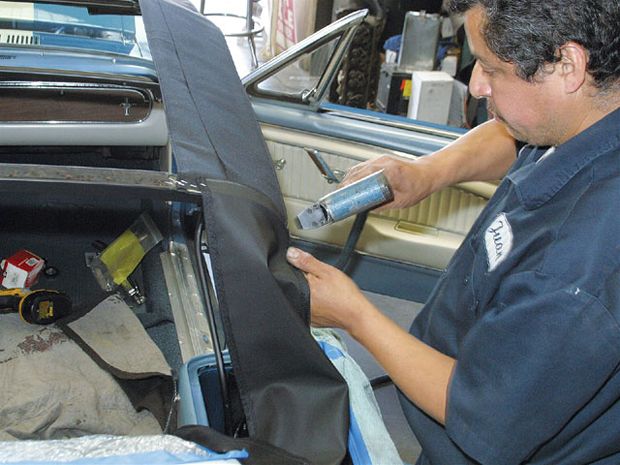
To work out wrinkles, be prepared to use a heat gun as you go. Don't get too close to the material.
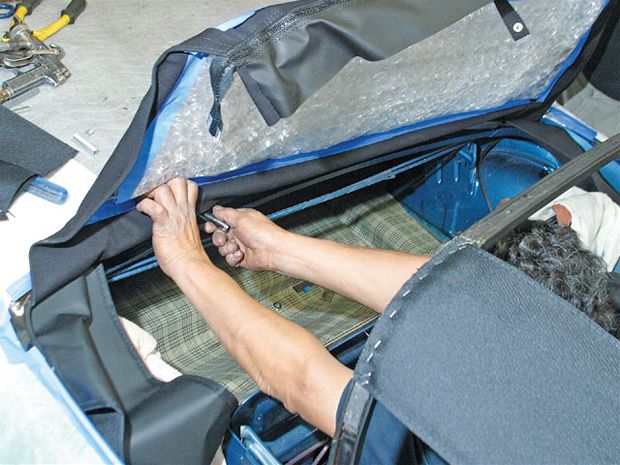
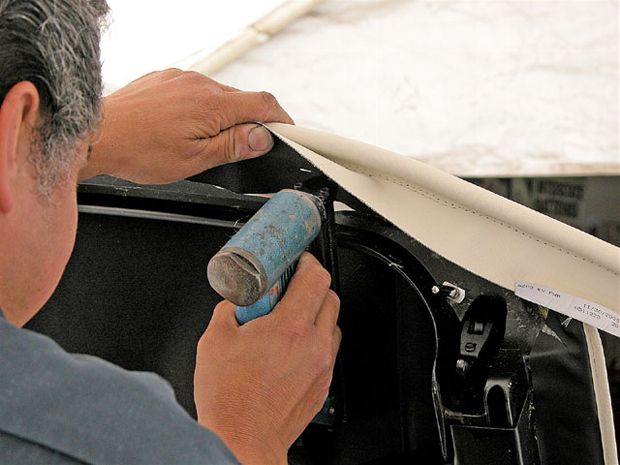
Convertible top material attaches at the top-well hold-down. This should happen when you install the rear-window panel.
This is the quarter-deck retainer cable mentioned earlier, which is routed through our convertible top sleeve and bolted to the side bow. This secures the convertible top. It also enables bow segments to lie down as the top comes up.
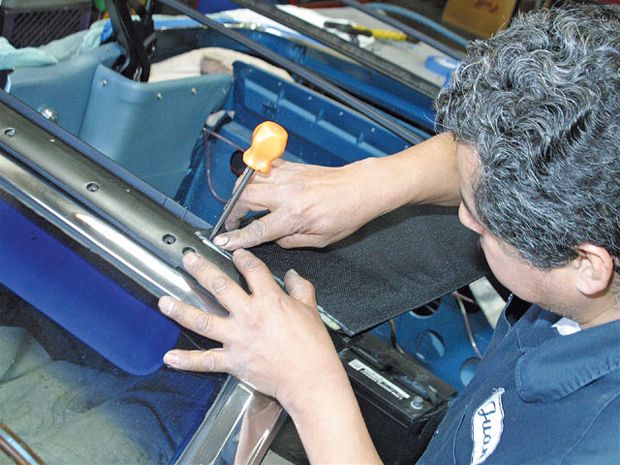
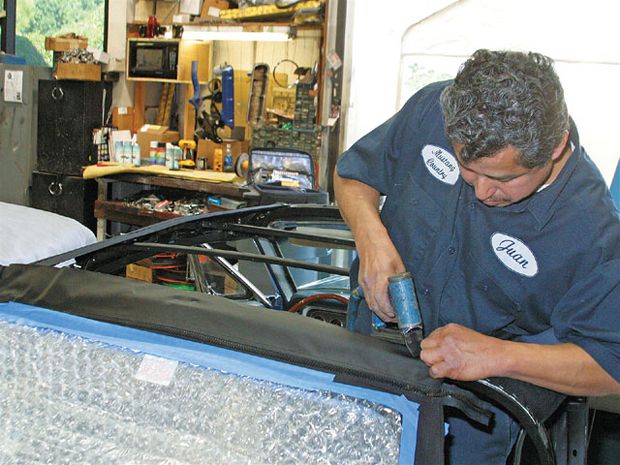
Top material must be carefully stapled to the side and cross bows a little at a time because you're going to have to detach and readjust until the top is properly centered and tensioned.
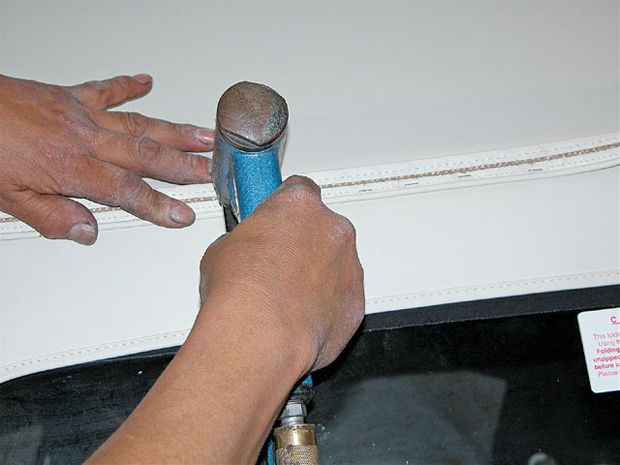
The convertible top material is stapled to the bows as shown. Again, you're going to need to make adjustments, so don't fire a bunch of staples until you're sure the top works properly and is positioned correctly. Once proper fitment is confirmed, staple to secure the material, then roll the channels over to close up the stapling.
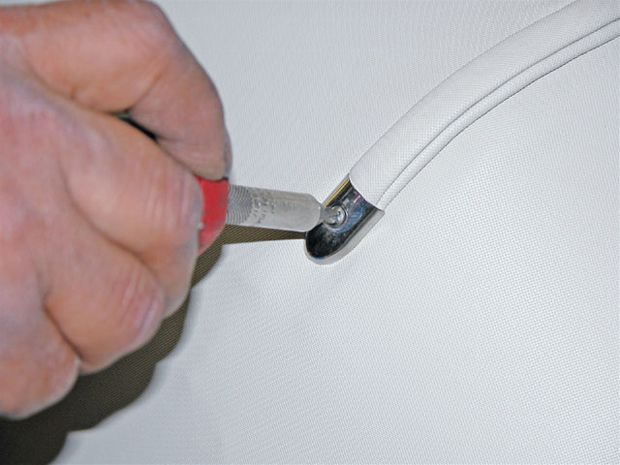
Trim pieces seal the staple channels. Install as shown to hide the staples.
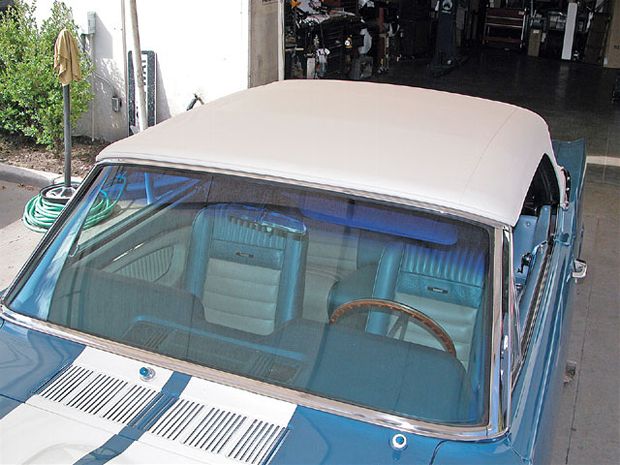
Our California Mustang convertible top looks sharp. Thanks to Hydro-E-Lectric and Mustang Country, function has never been better.
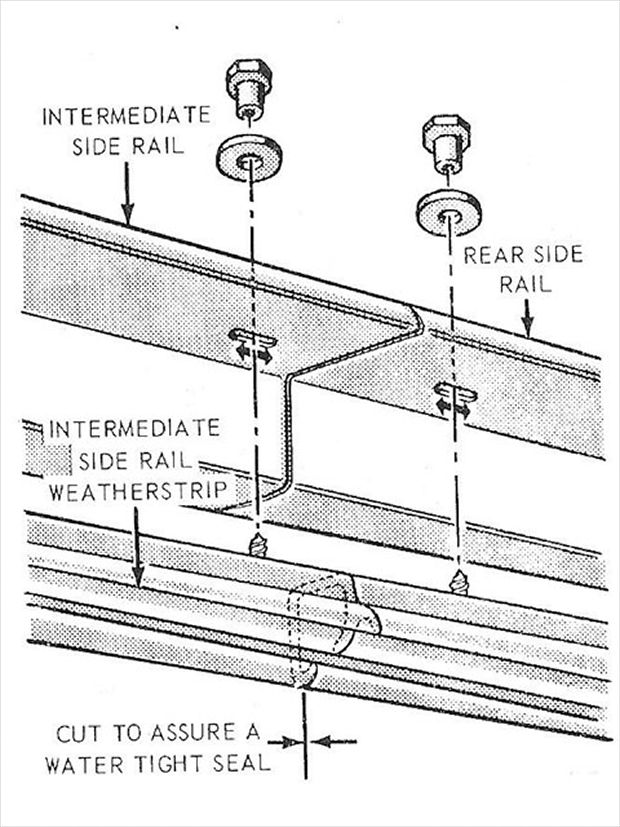
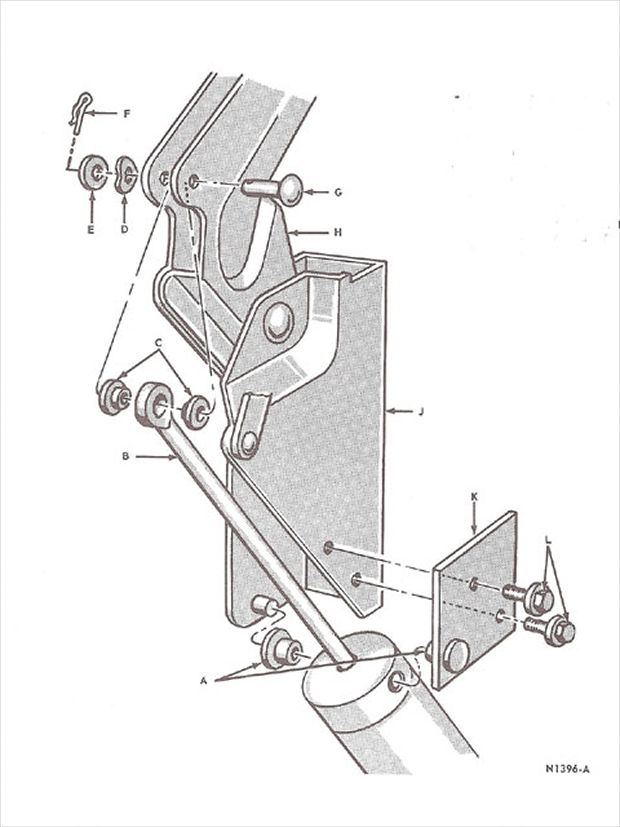
Weatherstrip Adjustment: One thing you don't want is wind noise, even though you're going to get some in a classic Mustang convertible. Adjust the top weatherstripping along with the windows to get the best seal possible. This takes a lot of practice and freeway testing. Weatherstripping moves in and out, retained with flanged nuts as shown.
If you're overhauling your Mustang convertible's mechanicals in conjunction with top replacement, Hydro-E-Lectric can help with all of your mechanical & convertible top needs. From the electric pump along with all electrical components, bushings, pins, lift cylinders (power top), balance cylinders (manual top), and more. Hydro-E-Lectric has all the goods to get your Mustang's top back in action. What's more, these folks have top components for classic and late-model alike.