
Replacing Vintage Mustang Motors Is Easier Than You Might Think
By: Jerry Heasley Photographer: Jerry Heasley
While it's true that basic subjects such as replacing a convertible top might not be the most thrilling to read about, they're often the most informative and helpful to many Mustang owners. In any case, if you have a vintage Mustang convertible and it needs a new motor to raise and lower the car's power top, we have good news: the replacement task is, in fact, very easy. All you have to do is remove the rear seat, remove the two nuts holding the motor in place, as well as the two fittings for the hydraulic lines, unplug the motor from the wiring harness in the car, and install the new one. It should take 20-30 minutes.
Although it's easy, we didn't have a car to use as a guinea pig. So, we again turned to our friends at Mustang Country International, one of our favorite shops to work with in the Los Angeles area. They had a '66 convertible on hand for our photos.
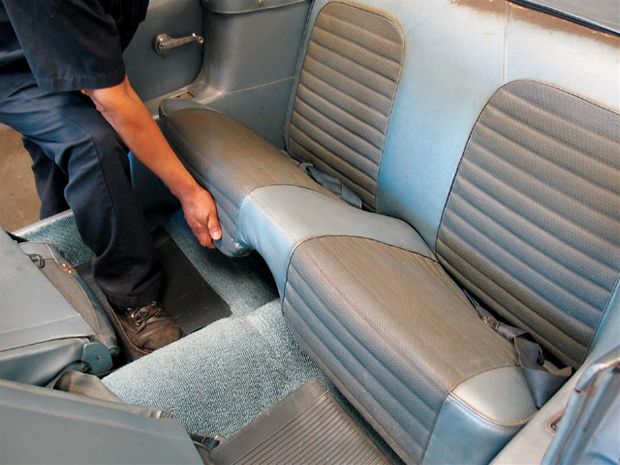
Removing the seat only takes a few seconds. Begin with the seat bottom by pressing it towards the back of the car to separate the seat-frame's wire from the clips in the car's floor.
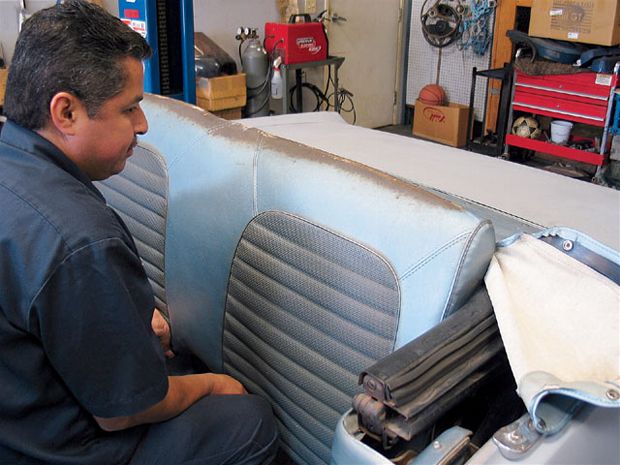
The seatback is next. Usually there are two bolts, accessible once the bottom is taken off, that hold the back in place. The bolts were missing on our car, so the back simply lifted out.
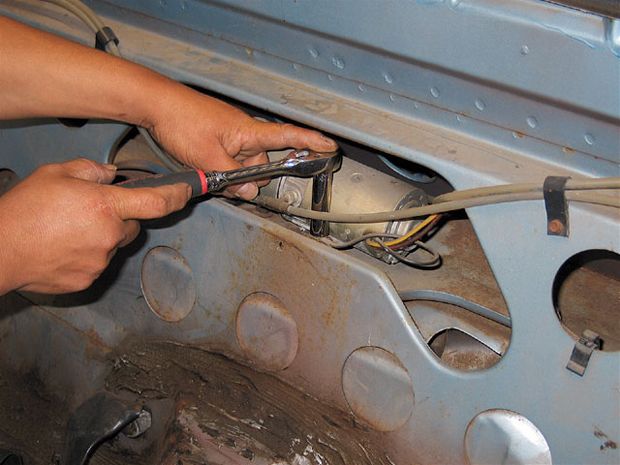
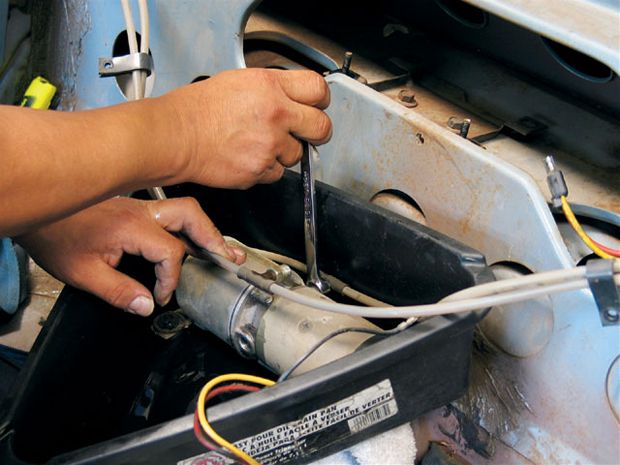
Using a 3/8-inch drive ratchet, detach the two nuts holding the motor in place.
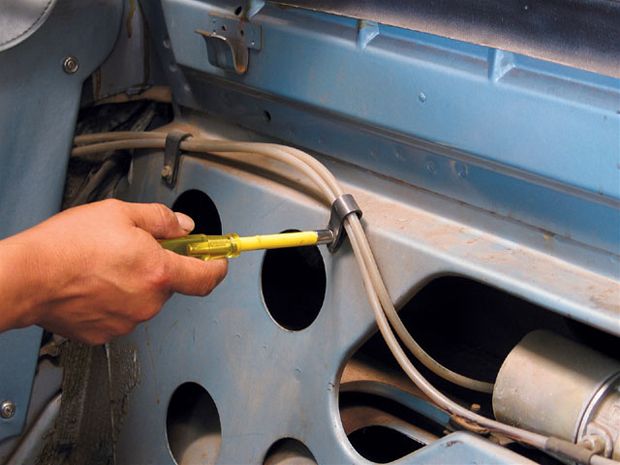
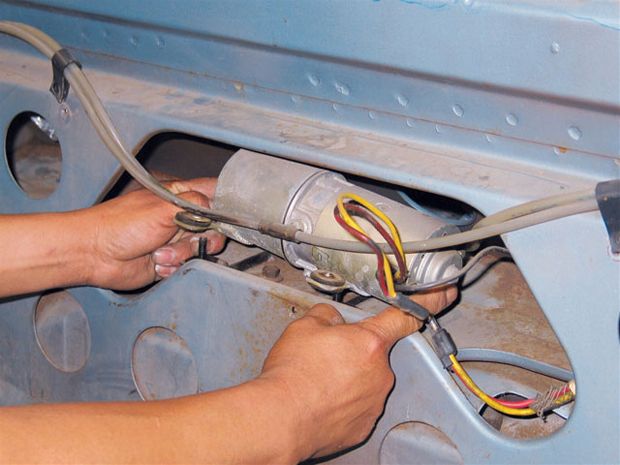
We also disconnected some of the clips holding the hydraulic lines in place, allowing the lines to move more freely when removing the motor.
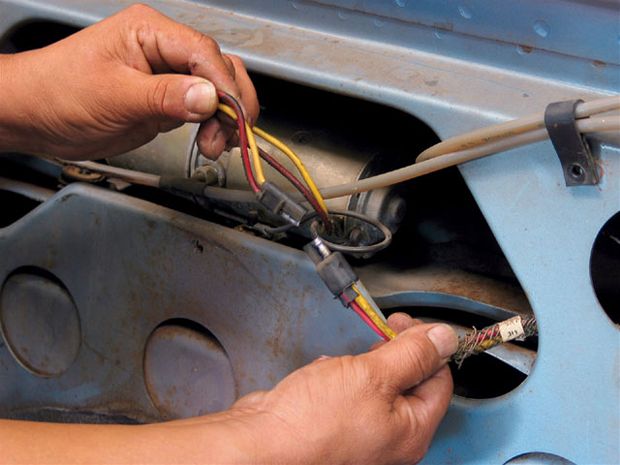
Unplug the motor from the car's wiring harness.
With the nuts taken off and the motor unplugged, the motor is lifted out of the car.
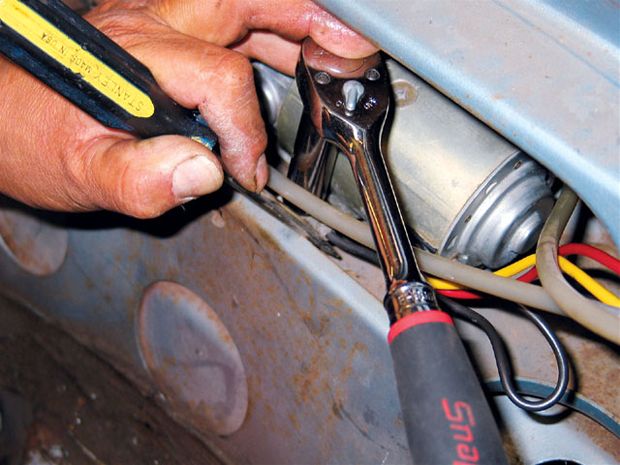
It's a good idea to have some sort of container handy when removing the lines because some hydraulic fluid will spill out. Using a line wrench, carefully loosen and detach the fittings as shown. At this point, the motor is completely free from the car.

Installation of the new motor is simple. Reinstall the line fittings on the new motor, set the it back in place over the studs, and plug the it into the car's wiring harness. When installing the bolts, place the motor's black ground wire onto the driver-side mounting stud, as shown here.
While tightening this nut, use a screwdriver to keep the ground wire centered. Complete the installation by reinstalling the hydraulic-line clips and the back seat.